
How to Prep a Home for Professional Photography
When it comes to selling or renting a property, first impressions matter - and in today’s market, that first impression usually happens online. Professional photography can transform a listing from “just another property” into something buyers can’t stop scrolling on.
But even the best photographer can’t work magic if a home isn’t ready. A little preparation goes a long way. Here’s how to make sure your property looks its absolute best before the camera clicks.
1. Declutter and Depersonalise
Less is more. Buyers need to imagine themselves living in the space - not your life.
- Remove personal photos, memorabilia, and excess clutter.
- Clear kitchen and bathroom counters and hide appliances and cleaning products.
- Simplify furniture arrangements to make rooms feel spacious.
Think of it as creating a blank canvas that highlights the home, not your belongings.

2. Give It a Good Clean
Shiny surfaces and spotless floors make a huge difference.
- Wash windows and mirrors to let in natural light.
- Vacuum or mop floors, clean carpets, and polish any visible fixtures.
- Tidy kitchens and bathrooms - a sparkling sink or neatly folded towels instantly elevates a room.
Even small details like hiding cords or removing bins matter.

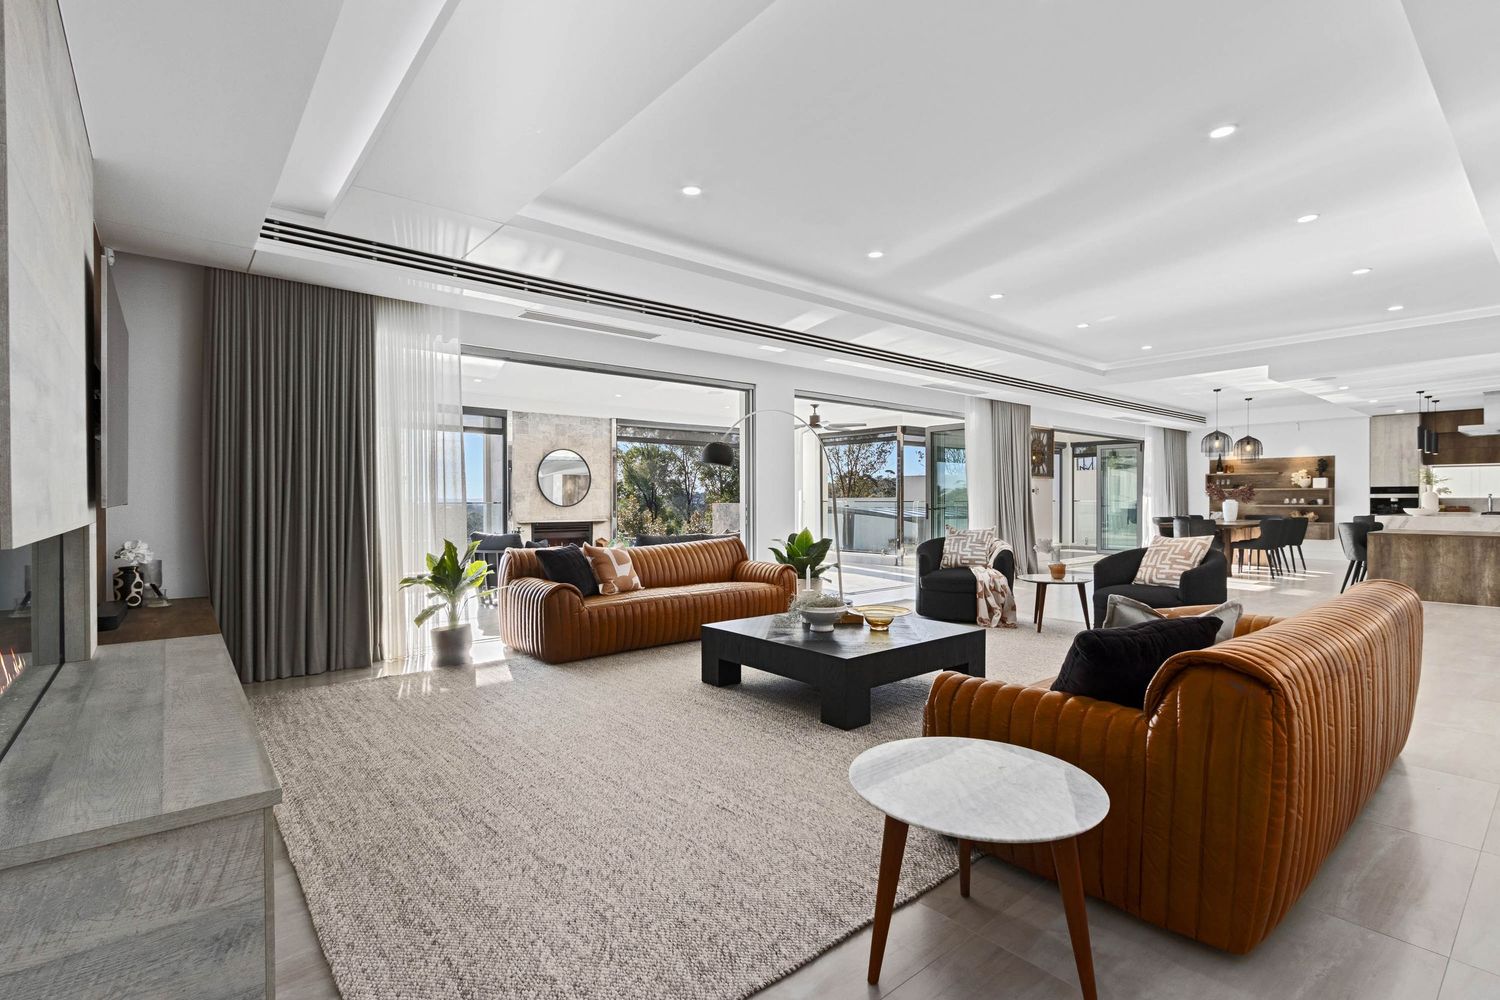
3. Maximise Light
Lighting is everything in photography. Bright, natural light will make rooms feel warm and inviting.
- Open curtains and blinds to let in sunlight.
- Turn on all lights - even during the day - for balanced brightness.
- Check that all bulbs are working and consistent in colour temperature.
A well-lit home always photographs better, and buyers respond to it instantly.


4. Stage Strategically
Staging doesn’t have to be expensive or over-the-top.
- Arrange furniture to show flow and purpose of the space.
- Add simple touches like fresh flowers, cushions, or throws.
- Make beds, fold towels neatly, and keep décor minimal but stylish.
The goal is to make the space inviting, not cluttered.
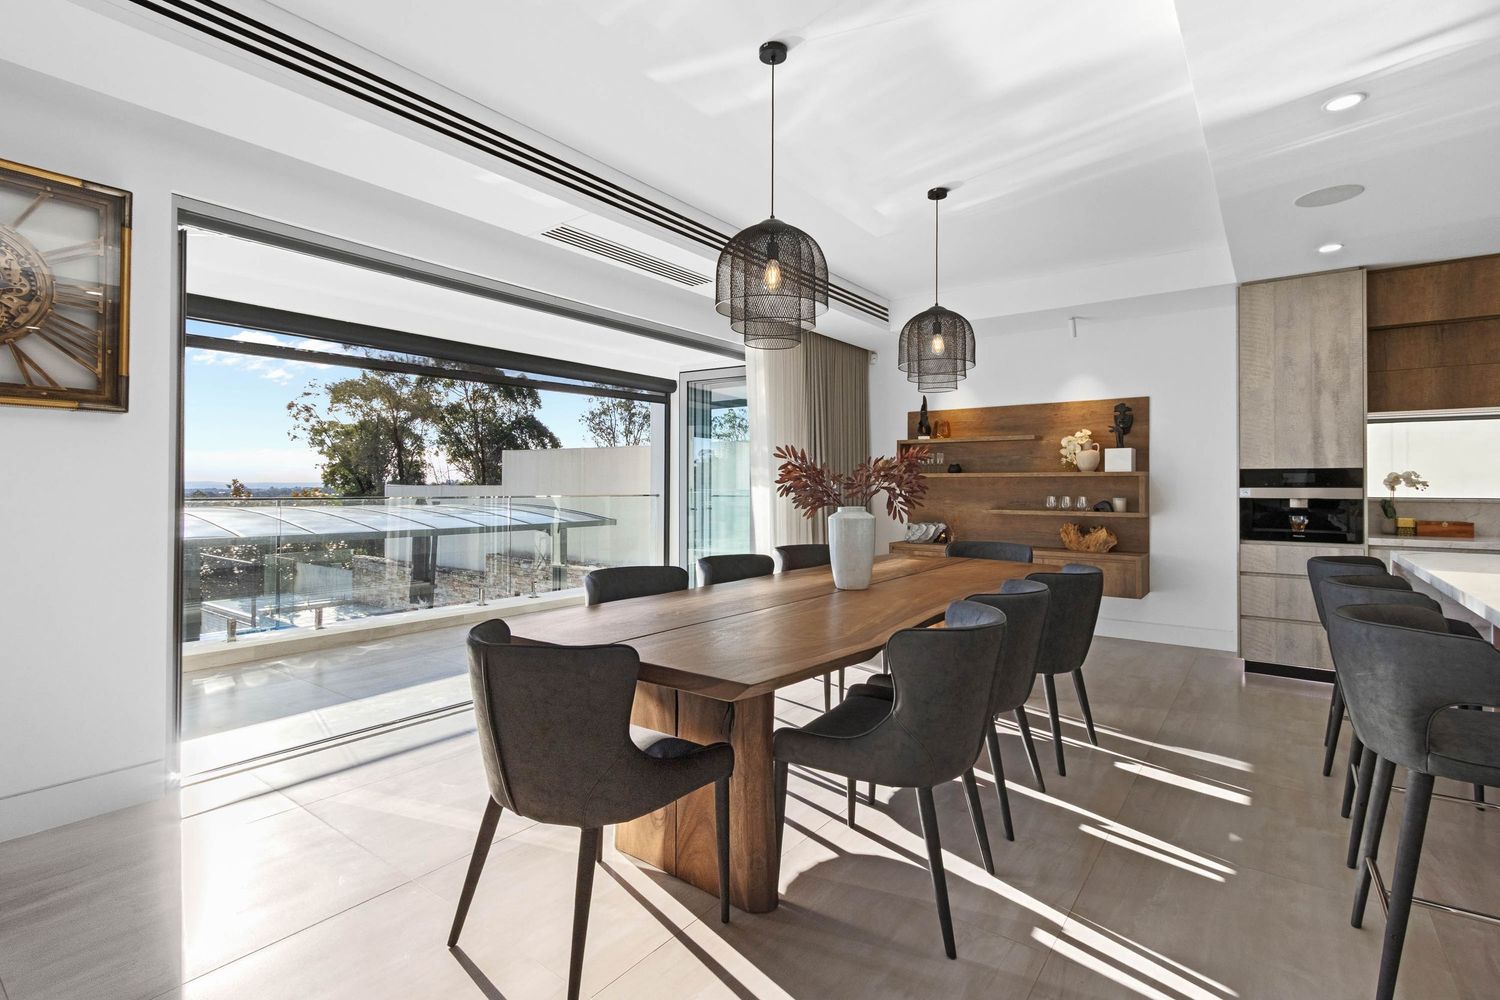
5. Highlight the Home’s Features
Your photographer needs to know what makes your property special.
- Point out standout architecture, views, or unique details.
- Let them know the areas that attract the most interest - alfresco spaces, kitchens, living areas.
- Make sure high-value features are clean and accessible for shooting.
A guided walkthrough ensures nothing is missed.

6. Don’t Forget the Exterior
Curb appeal isn’t just for in-person viewings - online photos are the first impression buyers see.
- Mow the lawn, trim hedges, sweep paths, and tidy outdoor furniture.
- Remove bins, tools, and vehicles that clutter shots.
- Shoot on a clear day if possible; lighting can make or break an exterior photo.


7. Quick Final Touches
Right before the shoot:
- Fluff cushions, align rugs, and tidy any remaining clutter.
- Check mirrors, windows, and floors for smudges.
- Ensure every room looks its absolute best - the camera captures details buyers notice.
Final Thoughts
Preparing a home for professional photography doesn’t have to be stressful. With decluttering, cleaning, thoughtful staging, and a focus on lighting and key features, you can ensure your property looks stunning online.
At Realty Lens Media, we don’t just take photos - we work with you to present your listing in the best possible light. A little prep goes a long way, and when every corner of your property shines, buyers notice - and act.


